Introduction
Z-Fold Brochure Printing creates a versatile and effective marketing tool, named for its unique folding pattern that resembles the letter ‘Z.’ Unlike traditional single-fold brochures, the Z-fold offers more panels for content, stands upright when displayed, and remains compact when folded. This combination of features makes Z-Fold Brochure Printing an ideal choice for businesses looking to maximize their promotional impact.

Design Considerations
Panel Layout and Orientation of Content
When designing a Z-fold brochure, the layout of each panel is crucial. The brochure typically comprises six panels—three on the front and three on the back. Each panel can convey different aspects of your message, but it’s essential to maintain a coherent flow from one panel to the next. Proper orientation ensures the content is readable and logically structured, guiding the reader through your narrative seamlessly.
Importance of Bleed and Safe Zones
In print design, the bleed refers to the area beyond the edge of the page that ensures no unprinted edges occur in the final trimmed document. In safe zones, important content is placed to ensure it is not cut off during trimming. For Z-fold brochures, it’s vital to account for these areas to ensure all important information is kept from being lost or misaligned.
Color Mode (CMYK vs RGB) and Resolution Requirements
Always use the CMYK color mode for print materials as it aligns with the printing process, ensuring colors appear as intended. The RGB color mode suits digital screens but can lead to color discrepancies when printed. Additionally, ensure your design maintains a resolution of at least 300 DPI (dots per inch) to achieve crisp and clear images.
Using Templates or Setting Up Your Layout
Utilizing pre-made templates can streamline the design process and ensure proper dimensions and folds. However, meticulous attention to panel dimensions, bleed areas, and safe zones is essential if you choose to set up your layout. Most design software, such as Adobe InDesign or Illustrator, offers tools to assist with these settings.
Printing Specifications
Standard and Custom Size Options
Z-fold brochures come in various sizes, with the 8.5″ x 11″ and 11″ x 17″ being standard options. Custom sizes can also be created to meet specific needs. The choice of size will depend on the amount of content and the desired impact of the brochure.
Paper Stock Choices
The type of paper stock you choose can significantly affect the look and feel of your brochure. Common options include:
- Glossy paper: Offers a shiny finish, enhancing color vibrancy.
- Matte paper: Provides a non-reflective finish, giving a sophisticated and professional look.
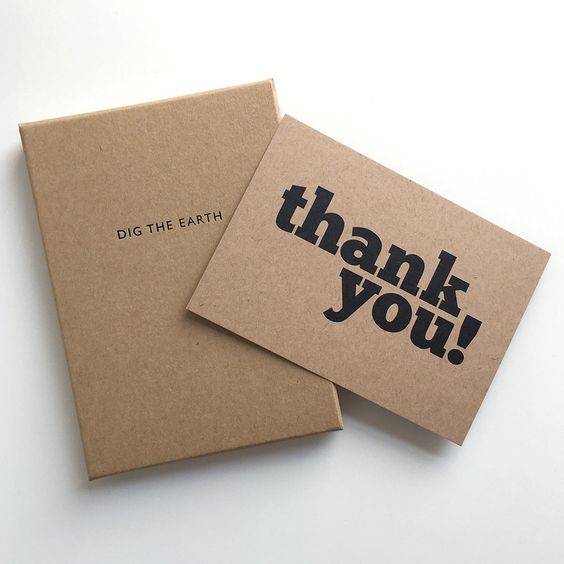
- Uncoated paper: Ideal for a more natural and tactile feel.
Coating Options for Added Durability
Consider adding a coating to your brochures to increase durability and enhance appearance. UV coating provides a high-gloss finish and protection against scratches, while aqueous coating offers a more subtle shine and is environmentally friendly.
Quantity and Turnaround Time
Printing quantities can range from a few hundred to several thousand copies. High-volume orders often reduce the cost per unit. Turnaround times vary by printer but generally range from a few days to a week, depending on the complexity of the project and the printing company’s workload.

Folding and Finishing
Scoring for Proper Folding
For heavier paper stocks, scoring is essential to ensure clean folds without cracking the paper. Scoring involves creating a crease along the fold line, making it easier to fold the brochure precisely.
Trimming and Cutting to Final Size
After printing and folding, brochures are trimmed to their final size. This step ensures all edges are clean and uniform. Accurate trimming is crucial, especially for maintaining the integrity of the design.
Packaging or Mailing Considerations
Consider how the brochures will be distributed. If they are to be mailed, ensure they fit standard envelope sizes to avoid additional postage costs. Proper packaging is also necessary to protect brochures during shipping and handling.
Tips for Effective Z-Fold Brochures
Best Practices for Content Layout and Flow
- Start with a strong headline: Capture attention with a compelling headline on the front panel.
- Sequential storytelling: Use the panels to unfold a narrative or step-by-step guide.
- Consistent branding: Maintain your brand’s colors, fonts, and style throughout.
Using Images, Graphics, and White Space Effectively
- High-quality images: Ensure all visuals are high resolution and relevant to your message.
- Balanced graphics: Integrate graphics that complement the text without overwhelming it.
- White space: Use white space to avoid clutter and enhance readability.
Calls-to-Action and Driving Desired Response
Each panel should include a clear call to action (CTA), prompting the reader to take the next step, whether visiting a website, calling for more information, or purchasing. Effective CTAs are crucial for converting interest into action.
Making Your Brochure Stand Out
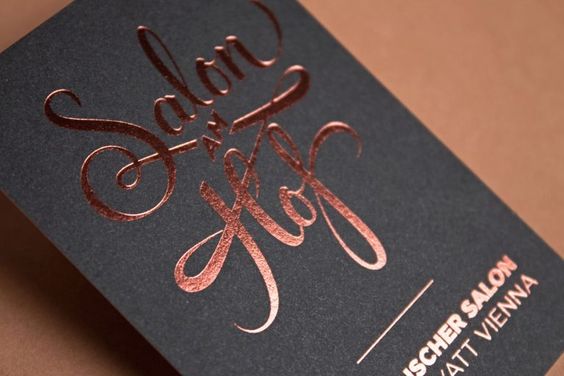
- Special inks and finishes: Consider using metallic inks, embossing, or foiling to add a touch of elegance.
- Interactive elements: QR codes or perforated sections can make your brochure more engaging.
Conclusion
Z-fold brochures are a powerful tool for various marketing and informational purposes. Their unique design offers ample space for content, while their compact nature ensures they are practical and appealing. By paying attention to design, printing specifications, and effective content strategies, you can create brochures that stand out and drive desired actions.